Smittybilt Defender Roof Rack Installation Instructions

Https Www Realtruck Com Smittybilt Defender Roof Rack Truck Roof Rack Roof Rack Truck Cargo Rack
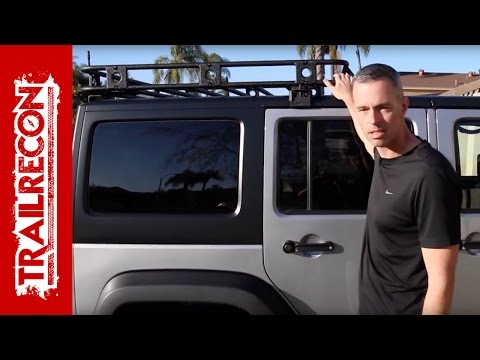
Smittybilt Defender Roof Rack Installation Jeep Wrangler Jk Youtube
Smittybilt Defender Rack Youtube

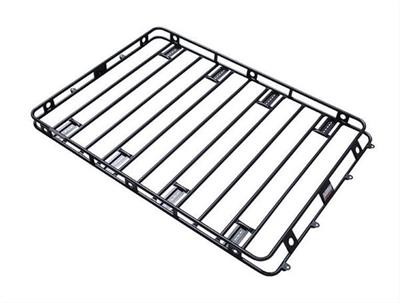
Amazon Com Smittybilt 55504 Defender 5 5 X 5 Rack Welded One Piece Roof Rack 1 Pack Automotive
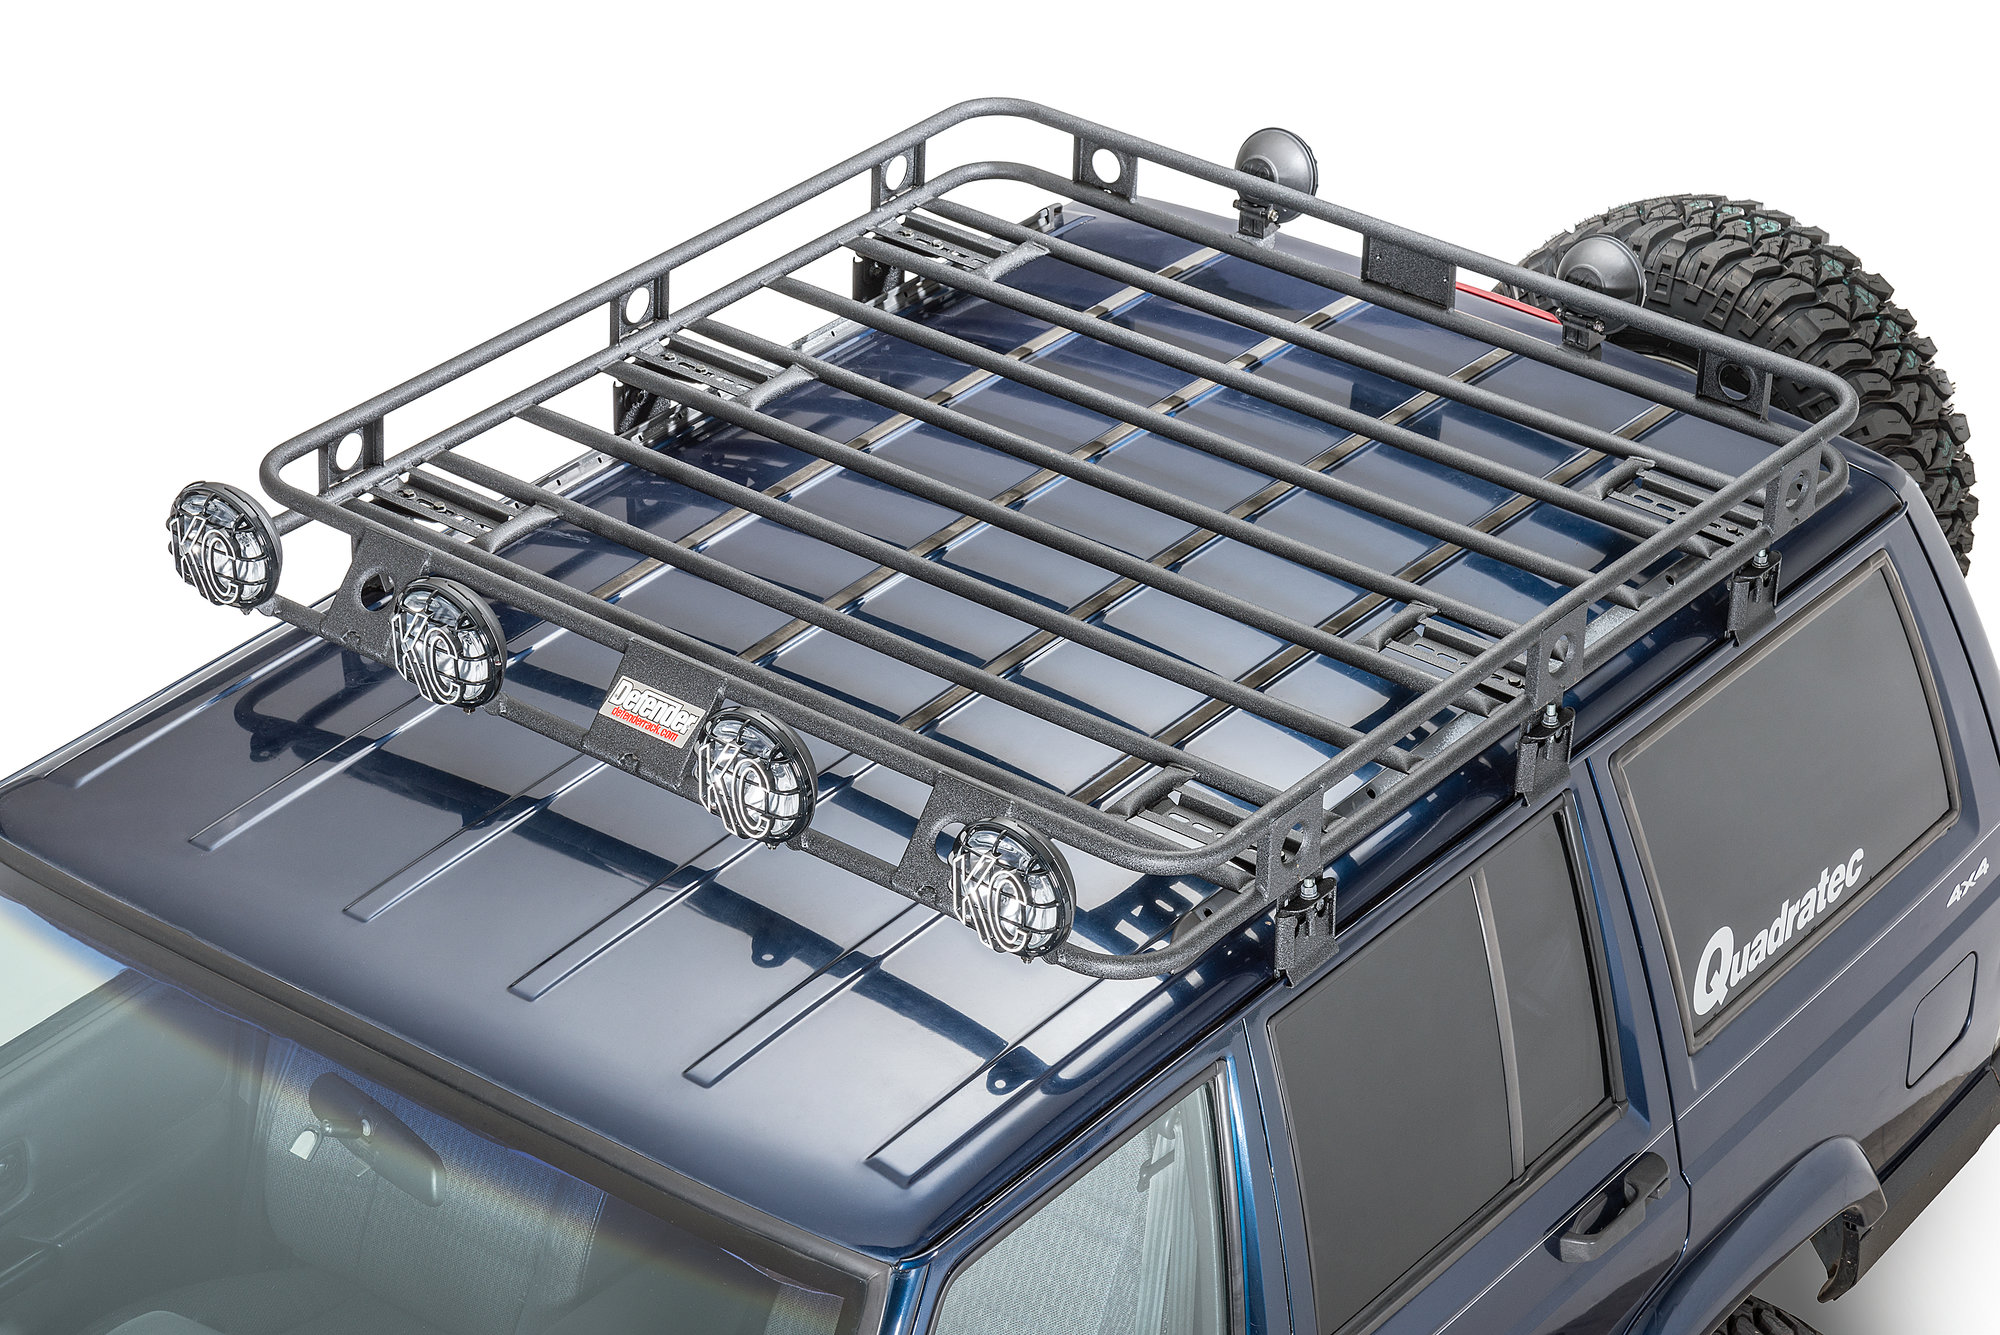
Smittybilt Defender Roof Rack For 90 01 Jeep Cherokee Xj With Factory Roof Rack Mount Quadratec

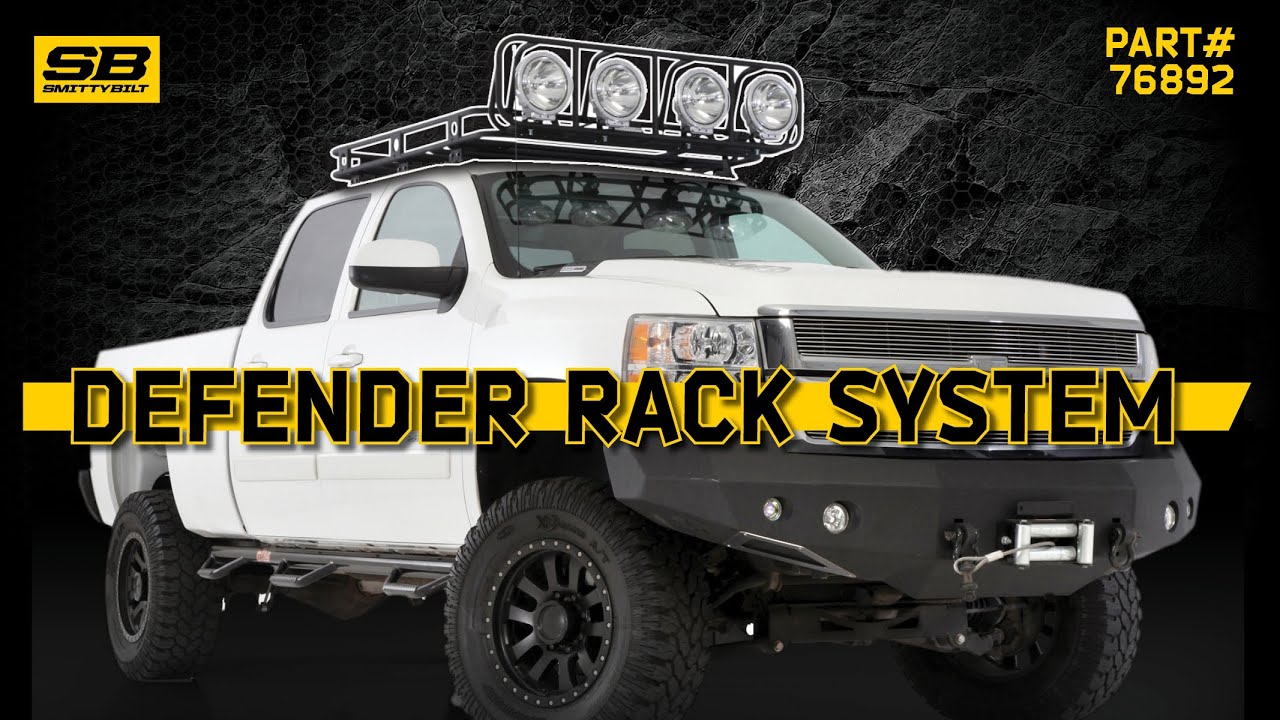
Roof Rack Install 2500hd Smittybilt Defender Rack How To Gmc Chevy 2014 2015 2016 2017 Youtube

The description for the new products page will go here.
Smittybilt defender roof rack installation instructions. Step 2 slide the u bolts around and up through the rack strut plates and secure with the included hardware. Smittybilt 400 west artesia blvd compton ca 90220 installation instructions defender rack adjust a mount application universal part am4 am6 am8 am10 am12 note. Fig j place rubber cap on side bracket threaded rod. Do not tighten at this time.
Make sure its evenly spaced side to side and front to back. Make any needed adjustments once basket is in desired location tighten all bolts on basket and brackets completely. Install the mounting brackets to the rack with the cupped portion either under or inside the factory rail depending on application. Fig i cut base of cap down if needed.
Welded light tabs and integrated flooring maximize functionality and the aerodynamic styling blends well with today s vehicle designs. Step 1 position the defender rack on your oem rack. Do not open the door while the bolts are removed. Place the defender rack on the factory roof rails in desired location.
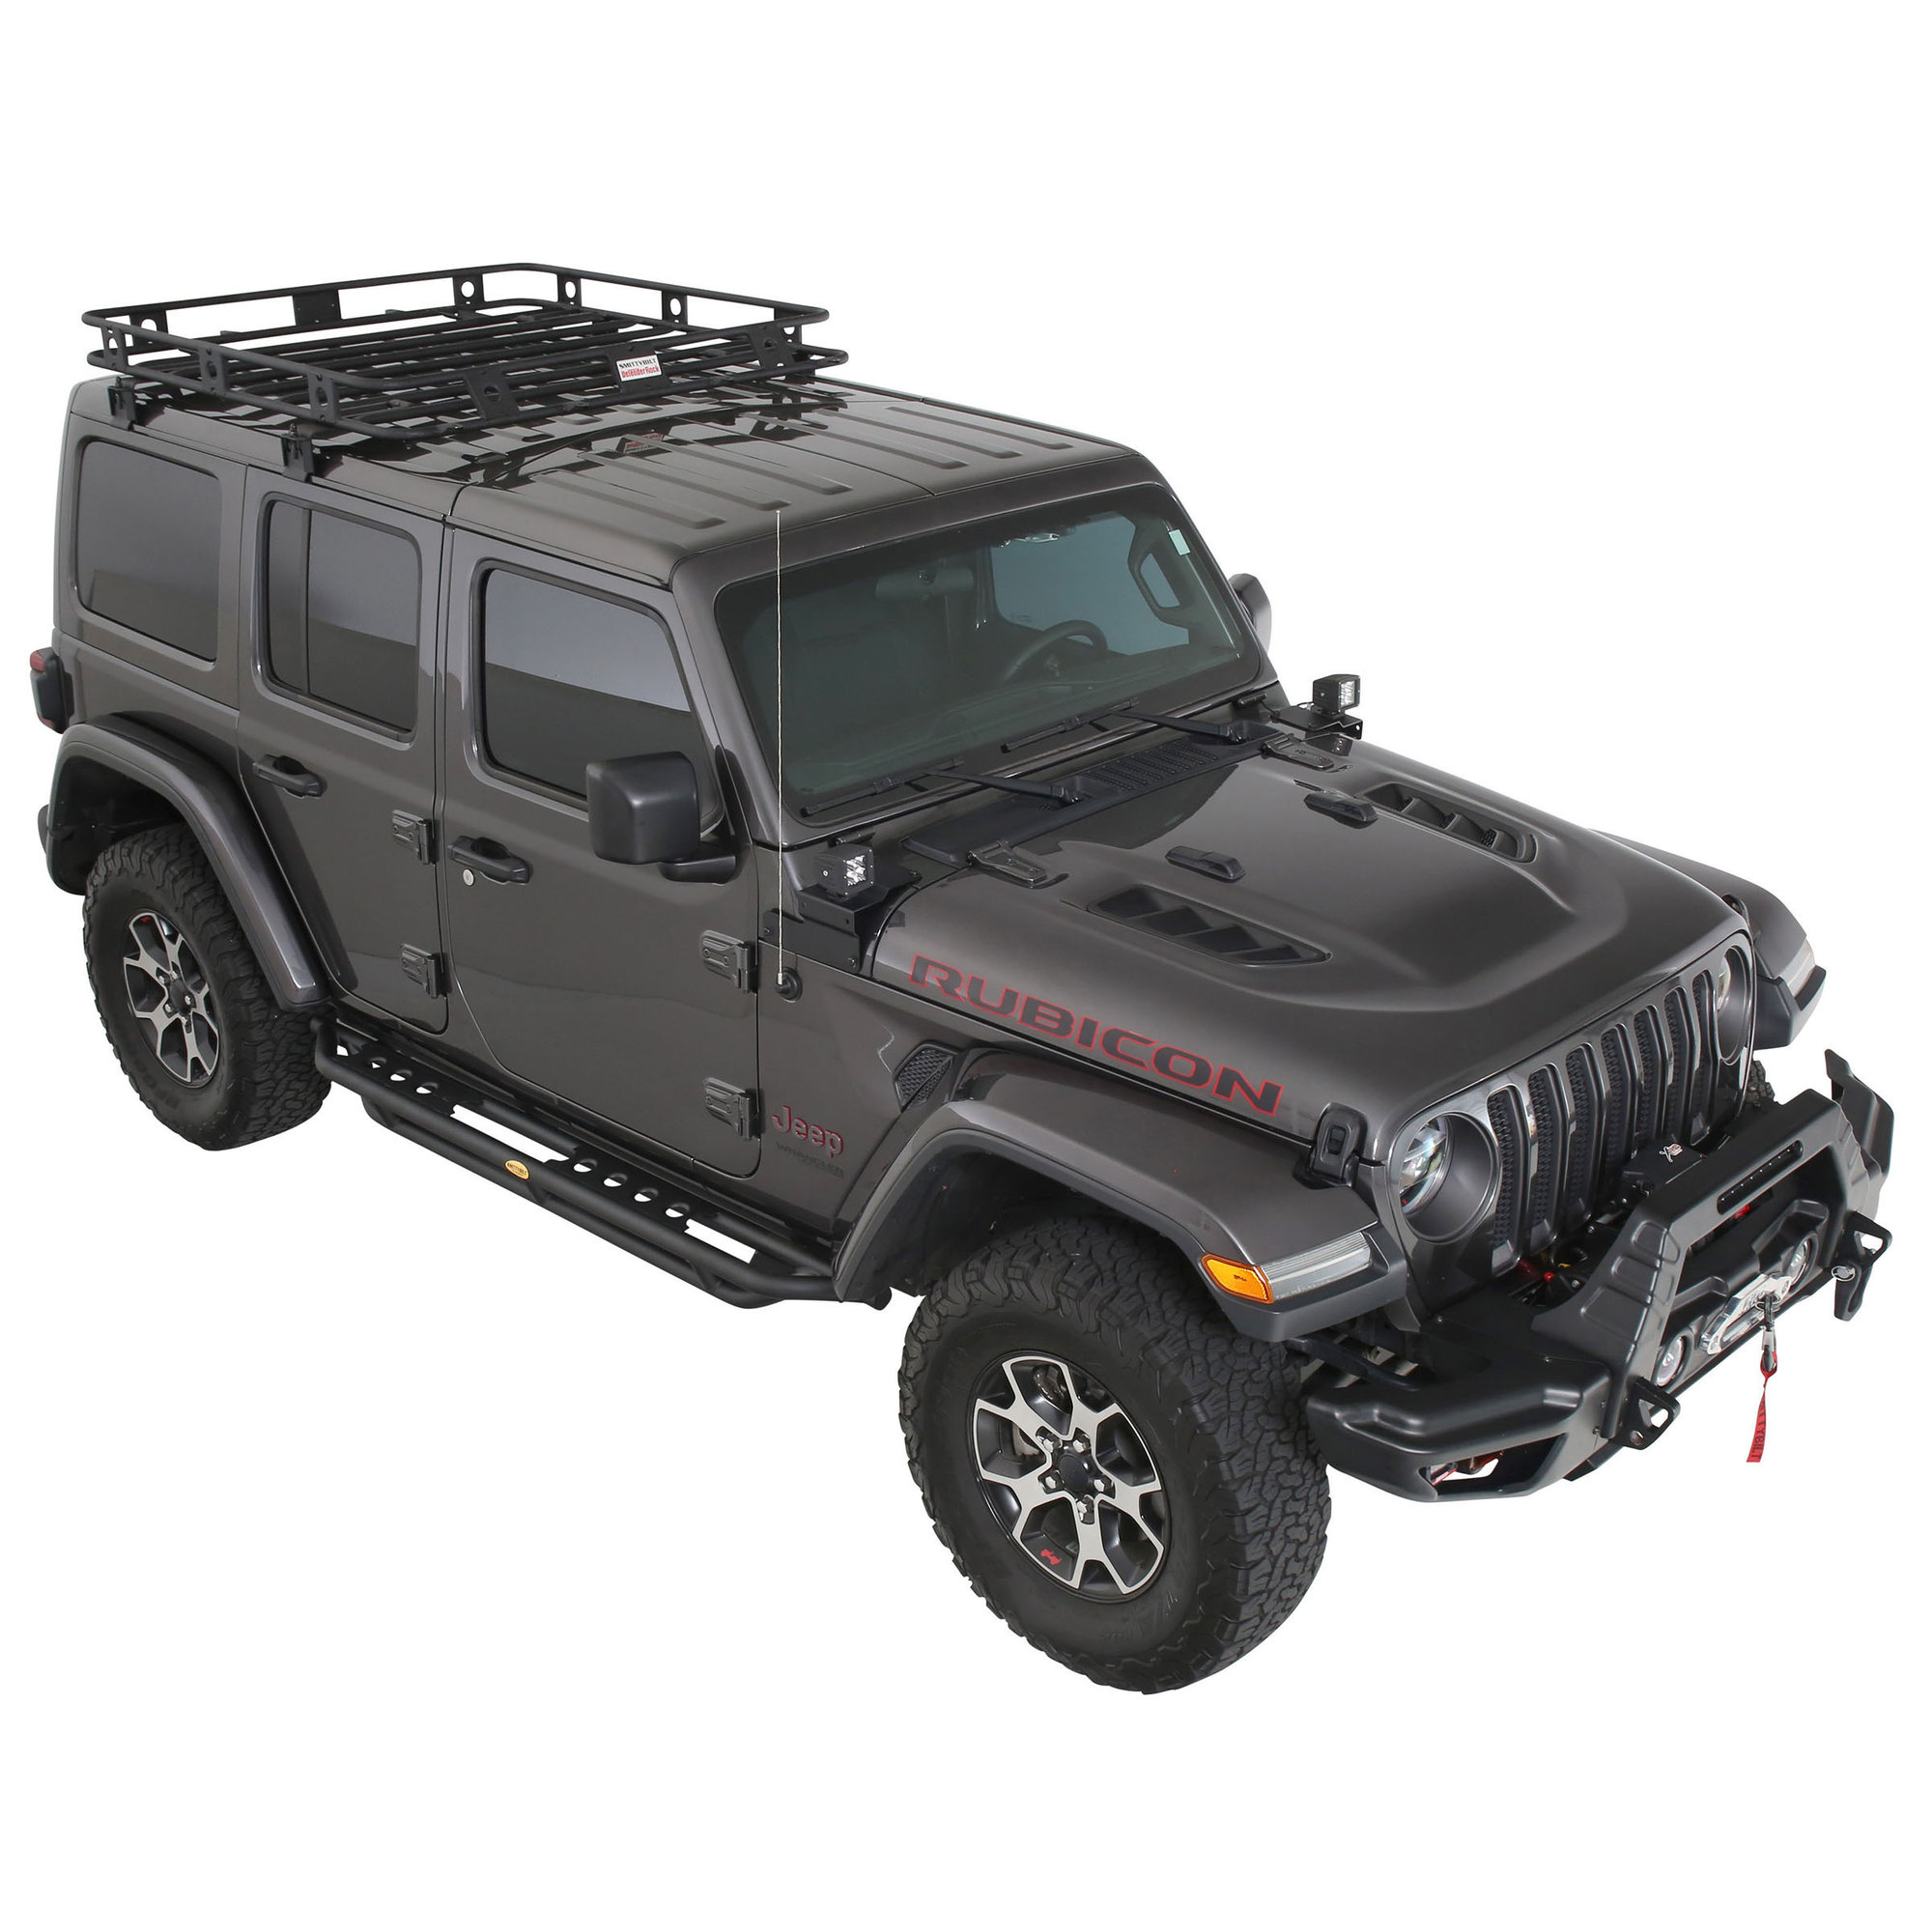
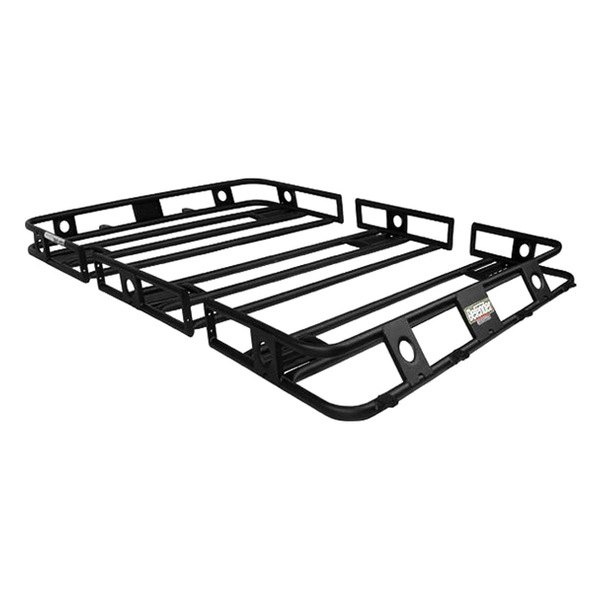
Installation instructions part ds31 4 defender rack mount kit 07 14 jk unlimited w hard top step 8. Installation is now complete. Smittybilt 400 west artesia blvd compton ca 90220 installation instructions defender rack mounts universal part hd 2 hd 4 hd 6 hd 8 hds 2 hds 4 hds 6 hds 8 hd 10 hds 10 hd 12 hd 12s notes. The smittybilt defender rack is made from 16 gauge fully welded 1 round steel tubing and finished in a black textured powdercoat.
Fig a b attach the brackets to the rack using the 5 16 x bolts with flat and lock washers. When carrying a spare tire the tire should not exceed 33 diameter. Defender roof racks are rated for loads of no more than 150lbs. Src roof rack constructed from high quality steel tubing and supported with heavy duty bracketry the smittybilt src roof rack system provides extreme toughness confident stability and superb convenience making it the complete package.
Fig a make sure all hardware is tightened completely.

Smittybilt Defender Roof Rack Realtruck

Pin On Exterior Car And Truck Parts

40404 Smittybilt Defender Roof Rack Pickup Heaven

Smittybilt 45454jl Defender Roof Rack 2018 2020 For Jeep Wrangler Unlimited Jlu Ebay

Smittybilt F 150 Defender Roof Rack 4 5 Ft X 5 Ft 45555 Universal Fitment Smittybilt Roof Rack Roof Basket

Defender Bolt Together Roof Rack Roof Rack Roof Rack Basket Smittybilt

Defender Welded One Piece Roof Rack Roof Rack Smittybilt Jeep Grand
Smittybilt Defender Roof Racks 45504

Rhino Rack Pioneer Sx Roof Rack 5th Gen 4runner Review Comparison 4runner Roof Rack 4th Gen 4runner

Smittybilt Defender Series Roof Rack Mounting Kit 84 89 Cherokee Rock Solid Off Road

Maximus 3 Roof Rack Mounting System For 2018 Jeep Wrangler Jl Jeep Roof Rack Jeep Wrangler

Smittybilt 40404 Defender Roof Rack Smittybilt Http Www Amazon Com Dp B00aqfe8pm Ref Cm Sw R Pi Dp Qsvgsb1v8xk947cm Roof Rack Smittybilt Roof Basket

Smittybilt Defender Roof Rack And Offroad Led Bars Install 20 Roof Rack Work Truck Offroad Led
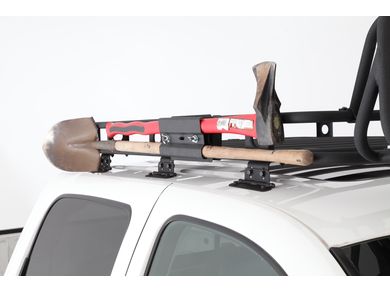
Smb D8138 Smittybilt Defender Axe Shovel Mount Realtruck
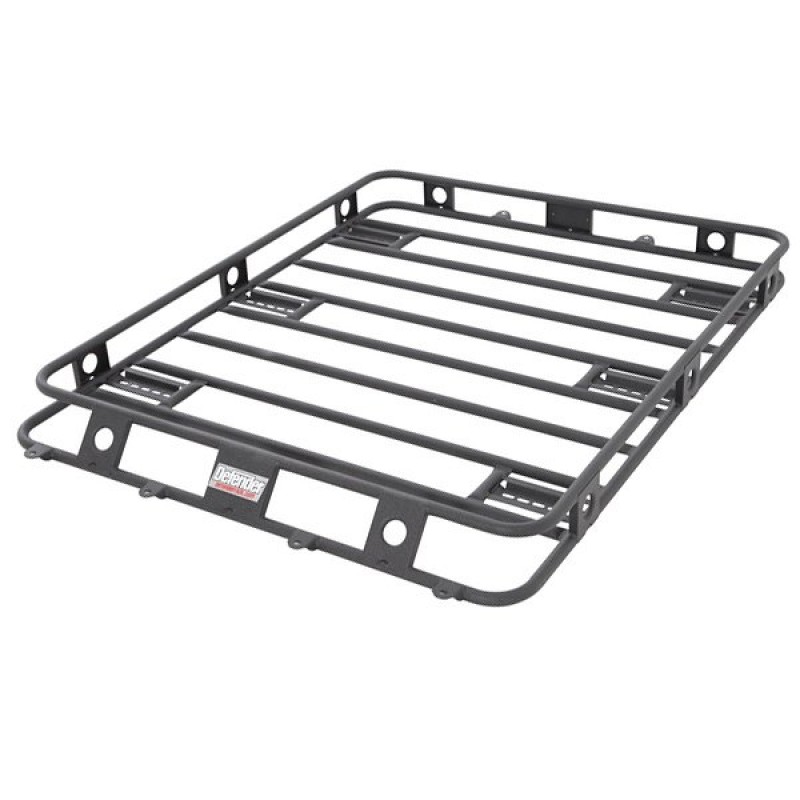
Smittybilt Defender Series Roof Rack Basket Welded 1 Piece Best Prices Reviews At Morris 4x4

Amazon Com Smittybilt 45655 Roof Rack Automotive

2007 2013 Fj Cruiser Rigid Industries 50 Straight Led Bar Roof Mount Lightbar Mounts Curved Led Light Bar Roof Rack

Smittybilt 50125hd Smittybilt Defender Roof Rack
Https Encrypted Tbn0 Gstatic Com Images Q Tbn 3aand9gcqn Bay14tdb2jke8kqw6yhttbf7q 6hk Mhfhzxkf3kkcodyy Usqp Cau

Smittybilt F 150 Defender Roof Rack 4 5 Ft X 5 Ft 45555 Universal Fitment
Smittybilt Defender Roof Rack Roof Rack Smittybilt Jeep Wrangler Unlimited

Smittybilt Defender Roof Rack In Stock Now Lowest Price Guaranteed Free Shipping Reviews Call The Product Experts At 80 Autos Modificados Camionetas Autos

Smittybilt Overlander Xl Roof Top Tent Roof Top Tent Jeep Camping Smittybilt

Smittybilt Defender Roof Rack Jeep Parts And Accessories Roof Rack Smittybilt Jeep Wrangler Unlimited

Pin On Exterior Car And Truck Parts

Smittybilt Defender Rack Welded One Piece Roof 50704 How To Install A Installation Instructions By Jeep Bumper Brackets 40404 Tonneau Cover

Rhino Rack Pioneer Led Light Bracket Pair Led Lights Led Light Bars Rhino

Diy Photography Roof Rack Platform Mounts To Suv Truck Pickup Topper Cap Plans Instructions To Build Cheap Photogr Roof Rack Diy Photography Roof Rack Basket

Smittybilt Roof Rack Jeep Tj How To Install Defender By Jk Review Truck Mud Flaps Tacoma Wrangler Tonneau Cover

Go Rhino Roof Cargo Basket Safari Rack Roof Rack Rhino Roof Racks
Smittybilt 45454jl Defender One Piece Roof Rack For 18 20 Jeep Wrangler Jl Unlimited Gladiator Jt Quadratec
Smittybilt Jeep Wrangler Jk 2018 Defender Roof Cargo Basket
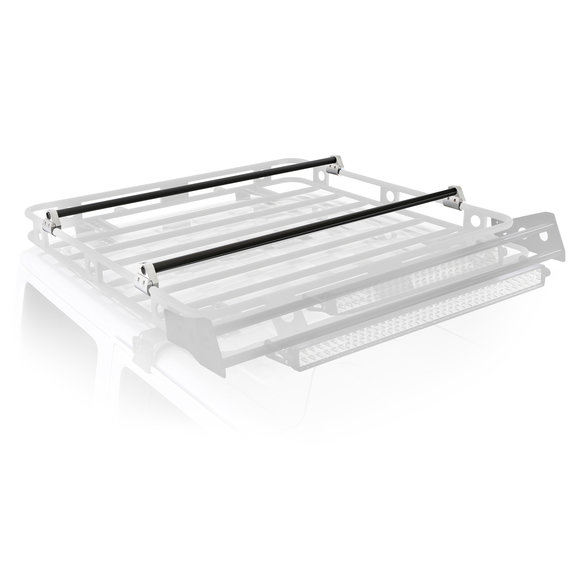
Smittybilt D8081 Defender Roof Rack Crossbar Bracket Kit For Defender Roof Rack Quadratec

Smittybilt Toyota Tacoma Roof Rack Smittybilt 2017 Toyota Tacoma Accessories

Smittybilt Defender Roof Rack Truck Roof Rack Roof Rack Roof Basket

Smittybilt Defender Roof Rack 45555 Desert Rat
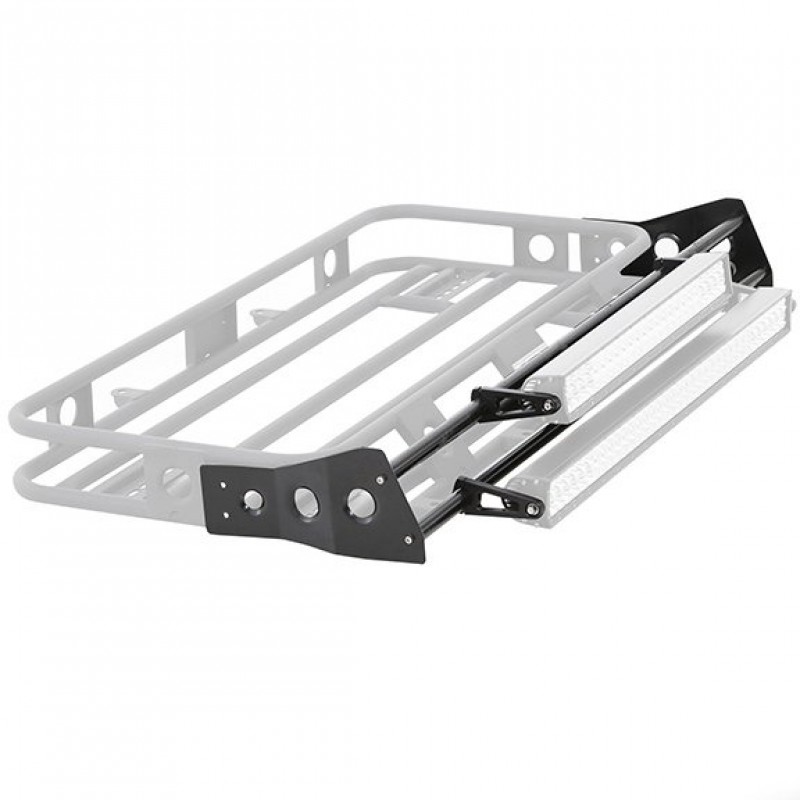
Smittybilt 4 Defender Rack Led Light Bar Mounting Kit Best Prices Reviews At Morris 4x4

Jeep Xj Smittybilt Roof Rack Defender Jk 2 Door Series Mounting Bracket Kit Wrangler Truck Mud Flaps Install Tonneau Cover
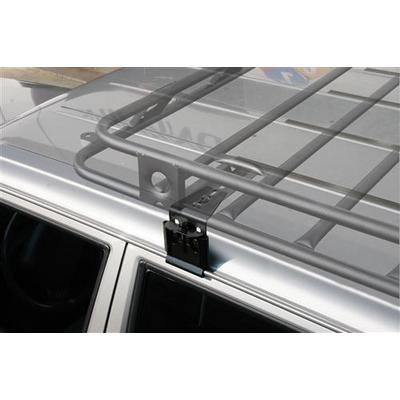
Smittybilt Heavy Duty Defender Roof Rack Rain Gutter Clamps 4wheelparts Com

1996 1999 Chevy Tahoe Roof Cargo Baskets Smittybilt 45504 Ds4 6 Roof Rack Roof Repair Smittybilt

Smittybilt Jeep Wrangler Src Roof Rack 300 Lb Rating Black Textured 76715 04 06 Jeep Wrangler Tj Unlimited Jeep Wrangler Tj Roof Rack Jeep Wrangler

Defender Roof Rack Mounting Brackets Black Powdercoat Smittybilt Mounting Brackets Roof Rack Powder Coating

