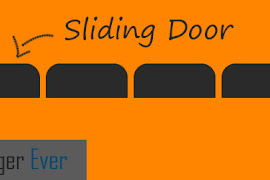
Sliding Door Css Technique

Blog With The Latest Trend In Modern Design House And Decoration Sliding Doors House Design Design Development
Update Styling The Button Element With Css Sliding Doors Now With Image Sprites And Ie 8 Support Filament Group Inc

Html Css Fancy Css Button Button With Sliding Doors Technique Dynamic Width Button Three Sliced Background Images Button Rounded Css Button Backward Compatibility Button Santosh Kumar S

Five Free Css Sliding Door Tab Menus

How To Create Sliding Doors With Css

Today S Agenda Advanced Css Techniques Floating Z Index Centering Sliding Doors Fluid Layouts Css3 Advanced Css Lab Mini Project 2 Ppt Download

Beautifully crafted truly flexible interface components which expand and contract with the size of the text can be created if we use two separate background images.
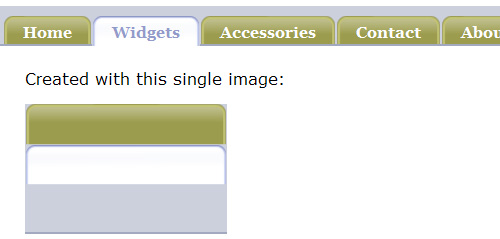
Sliding door css technique. Enter semi graphical tabs using the sliding door technique. Which means the important part will be the background image position. If you haven t read part i yet you should read it now. This method provides the following advantages.
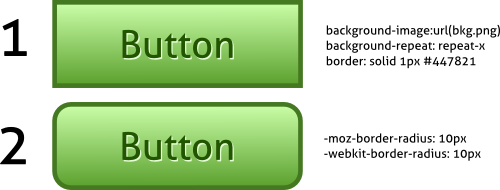
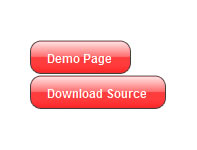
Using the sliding door technique with css menu writer. The link itself will hold another part of it. One image is long over which the text is laid and the other image closes the other side. The doors slide together and overlap more to fill a narrow space or slide apart and overlap less to fill a wider space as the diagram below shows.
We use the background image property because it hides the overflow and only shows the width specified and the other image slides over it to define the other end. The concept of the sliding door is to use a background image for the buttons in a navigation menu. Think of these two images as sliding doors that complete one doorway. With css menu writer implementing this.
The following method uses this xhtml code. This solution recipe shows you how to use the sliding doors technique. This technique uses two images one for the left cap while the other covers. Sliding doors of css part i introduced a new technique for creating visually stunning interface elements with simple text based semantic markup.
The sliding door technique basically uses two images stacked up next to each other. Tabs themselves resize to fit the text. Tab text can be resized to fit viewer s comfort. Tabs that use real text are likely to be more semantically correct.
In part ii we ll push the technique even further. Introduced by douglas bowman to customize your css menu writer menus. One for the left one for the right. The sliding doors technique section3.
Designing Css Buttons Mactale

30 Excellent Css Based Navigation And Buttons Tutorial


Creating A Css Curtain Opening Effect Css Tricks

Css Tabs Image Text With Sliding Doors

13 Css Button Tutorials And Techniques

Css3 Multiple Backgrounds Obsoletes Sliding Doors Css Tricks
Designing Css Buttons Mactale
Free Css Navigation Menus
Css Sprite Technique Stampede

30 Excellent Css Based Navigation And Buttons Tutorial Web Design Technology
Css3 Css3で作るボタンのデモ

10 High Quality Css Button Libraries Collections Css Web Design Button Image

How To Make Walking Links Css Tricks

Trying To Center A Text Overflow Ellipsis Using Css Flexbox In Angular 7 2 15 Dor Moshe S Blog

Fullscreen Slit Slider With Jquery And Css3
Styling Html Lists With Css Techniques And Resources Mactale
Technotarget Free Css Menus And Techniques Technotarget
How To Add Jquery Bx Slider Slider In Blogger Isotropic

Fasdf 50 Fresh Css Techniques Tutorials And Resources

50 Visually Appealing Css Tutorials Techniques

Dynamic Drive Css Library Sliding Doors Tabs Menu

Ajatix Advanced Css Drop Down Menu Dreamweaver Extension

Sliding Out Panels With Html Css Freebiesbug Web Design Web Development Design Web Design Software

The New Code Animating Sliding Door Images To Reveal A Background

Developer S Snack Exploration On Web Tab Modules

Peopletools 8 52 Peoplesoft Application Designer Developer S Guide

Https Encrypted Tbn0 Gstatic Com Images Q Tbn 3aand9gctfait7uksn5cif94ova1n7odrjw0taexu8oa Usqp Cau
Types Of Sliding Doors Modern Man

The Easiest Javascript Sliding Door Effect Tutorial With Jquery

Darkening A Background Url Image With Css Stack Overflow
Accordion Html And Css Only Works On Chrome But Not On Edge Mozilla Stack Overflow

30 Pure Css Horizontal Menus Tutorials Blogger Tips And Tricks
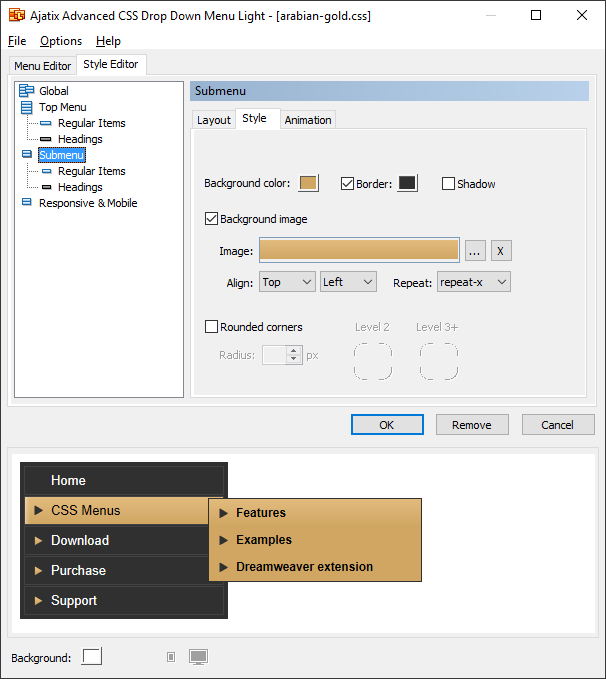
Ajatix Advanced Css Menu Light Free Dreamweaver Extension

Review Css Mastery 2nd Edition

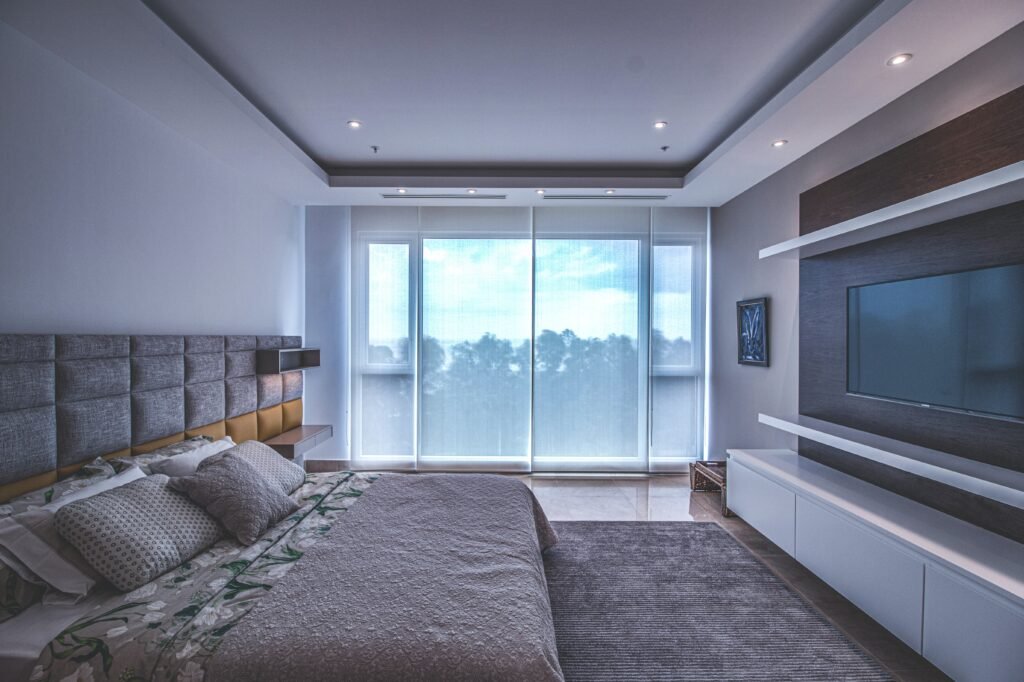
Hide Your Wardrobe Away Behind Stunning Sliding Doors Hettich Have The Ideal Sliding Door System To Suit Your Int Bedroom Tv Unit Design Sliding Doors Hettich

40 Superb Codecanyon Items You Must Check Out

Home Rockwood French Doors Interior Sliding French Doors French Doors
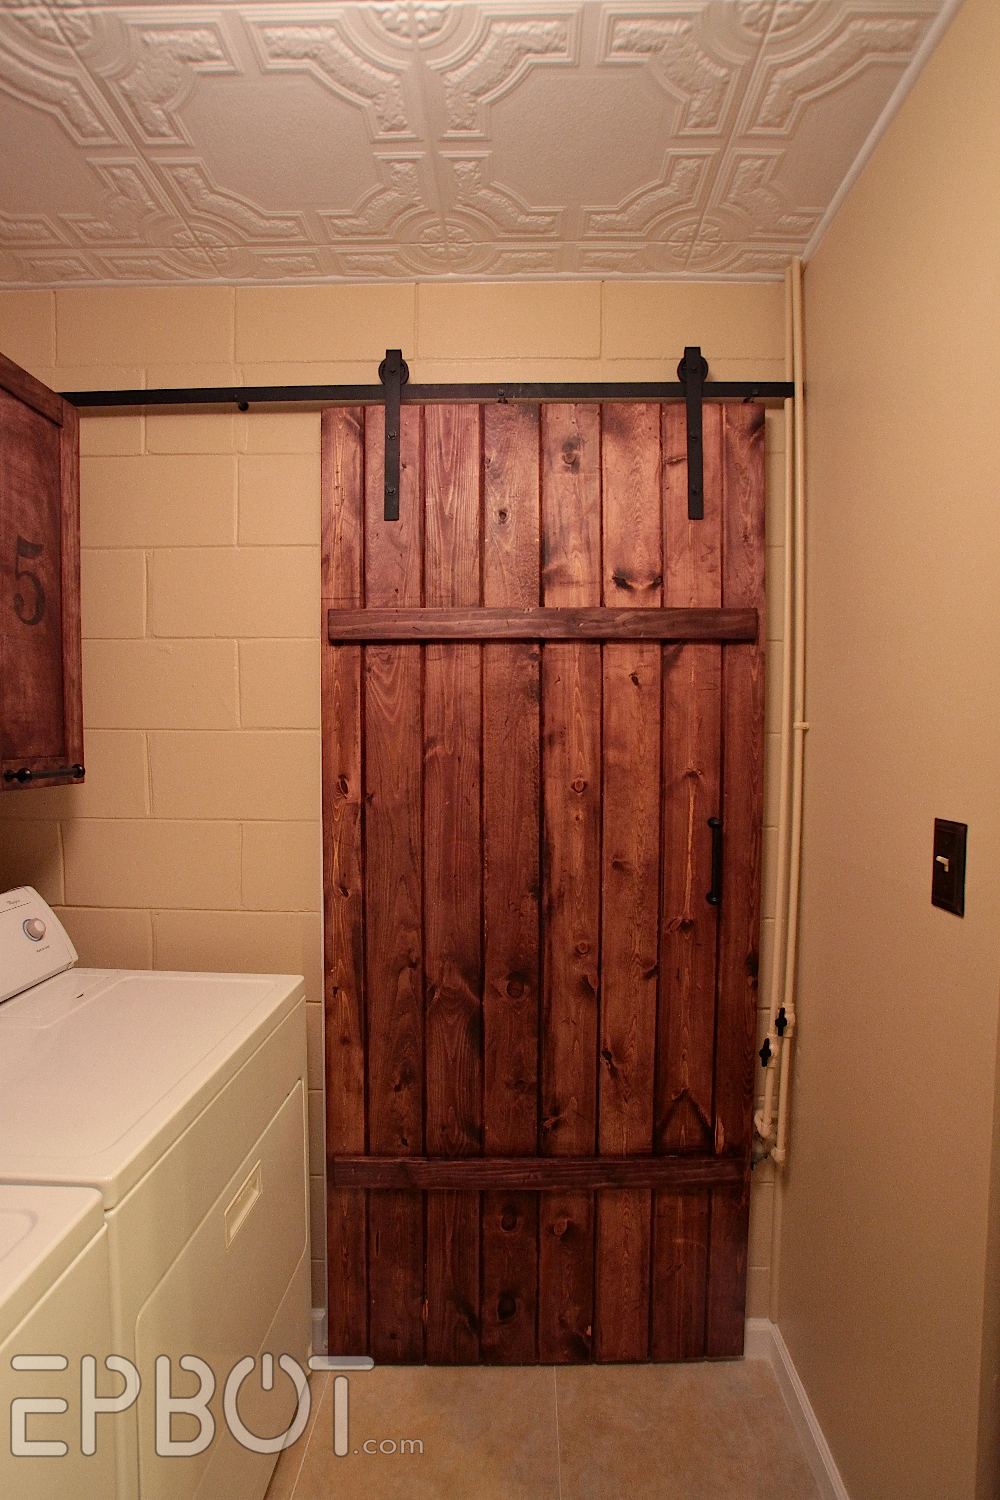
Epbot Make Your Own Sliding Barn Door For Cheap

New Products And Trends In Architecture And Design Shoji Closet Doors Japanese Sliding Doors Sliding Closet Doors

Window Sliding Technique Geeksforgeeks

Sliding Barn Door Track Sliding Carriage Doors Barn Doors For Interior Rooms Pallet Door Diy Pallet Furniture Pallet Furniture

The Functional And Aesthetic Value Of Interior Sliding Doors In Your Home Wow Decor

